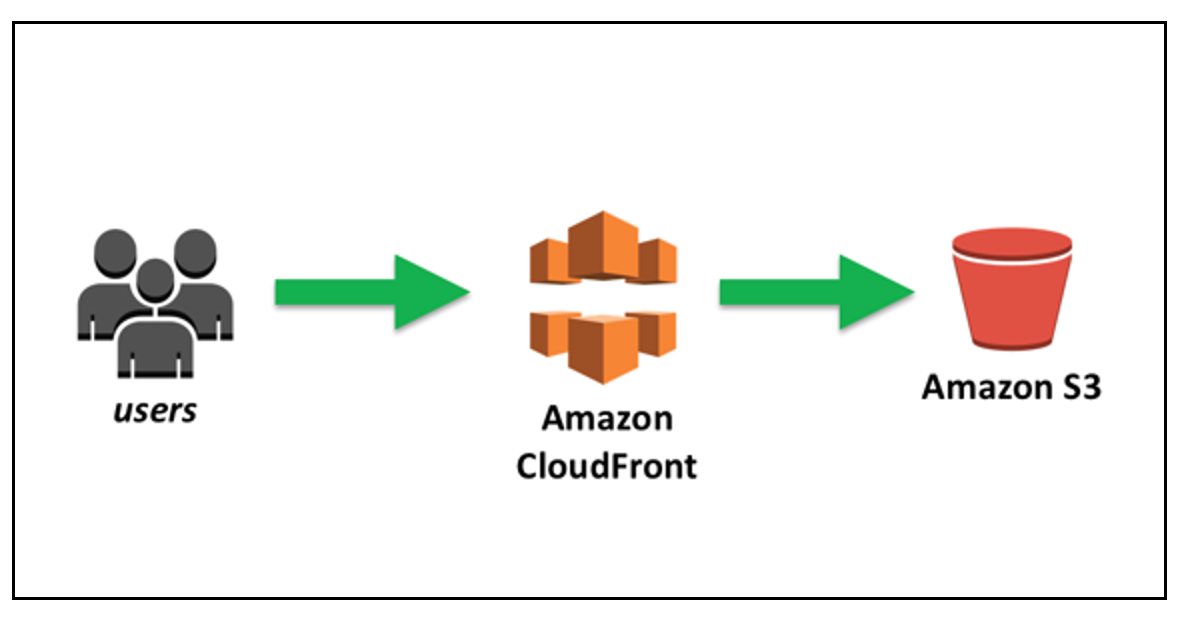
Step 1: Creating a New Bucket
Click on the "Create bucket" button on the S3 dashboard.
Select the bucket name and region, then click "Next".
Configure the bucket settings and create the bucket with "Create bucket".
Step 2: Configure Bucket for Web Hosting
Select the bucket you created.
Go to the "Properties" tab and click on the "Static website hosting" section.
Enable the "Static website hosting" option.
Specify the home page (index document) and error page (error document) names.
Save the changes.
Step 3: Access Permissions Settings
Click on the Bucket and go to the "Permissions" tab.
Check the "Block public access" section and edit it if necessary or if you change off when you created bucket.
Go to the "Bucket Policy" section.
And add a policy like this policy (replace the BUCKET_NAME with your bucket name).
{
"Version": "2012-10-17",
"Statement": [
{
"Effect": "Allow",
"Principal": "*",
"Action": "s3:GetObject",
"Resource": "arn:aws:s3:::YOUR_BUCKET_NAME/*"
}
]
}
Save the changes.
Step 4: Upload Files to Bucket
Go to the "Overview" tab of your bucket.
Upload your website files to the bucket using "Upload" or a similar option.
Step 5: Getting the Website URL
Go to the "Properties" tab of your Bucket.
Get the "Endpoint" URL provided in the "Static website hosting" section.
Now static website is up and running on AWS S3. You can access your website using the "Endpoint" URL.
Step 6: CloudFront Settings
Create a CloudFront distribution.
Choose your S3 Bucket as Origin domain.
You will see that warning . It is recommended that you use the S3 website endpoint rather than having CloudFront directly access the S3 bucket endpoint.
You must click "Use website Endpoint" and you choose protocol.
You can select Name for this origin.
Choose "Viewer protocol policy" and "Allowed HTTP methods" as that.
Viewer protocol policy : Requests coming over HTTP will be automatically redirected to HTTPS. This is a good practice to ensure a secure connection.
Allowed HTTP methods : It only allows GET and HEAD requests to be processed through CloudFront. For static content distribution, these methods are usually sufficient, as operations such as data modification (e.g. POST, PUT) are not supported.
If your site has low traffic volume and is just a small and simple static site, you can disable the WAF setting, considering the pricing situations.
If you have any suspicion or risk of malicious traffic or if you are going to block based on IP or geography, you can enable the WAF setting.
I choose do not enable . Because I use only this bucket and settings for this article.
After that "Create distribution".
